Onboarding
A walkthrough of all seven setup steps, with the screens you will see.
Onboarding takes you from a bare account to a running white-label platform: your brand, your credentials, your prices, your domain. This page walks every step.
Why the steps unlock in order
Each step is locked until the ones before it are satisfied. Hovering a locked step tells you what's missing. This isn't ceremony — four things must be true before your platform can take a single call, and they only become possible in this order:
| Requirement | Unlocks | If missing you'll see |
|---|---|---|
| Active platform subscription | Step 4 | Activate your platform subscription first |
| xAI (Grok) API key saved | Step 5 | Save your xAI API key first |
| Twilio credentials saved | Step 6 | Save your Twilio credentials first |
| Stripe connected and a published plan | Step 7 | Connect Stripe and publish a restaurant plan first |
Readiness is evaluated server-side, so it's identical whichever browser or device you use. You can leave at any point; when you come back, onboarding resumes at the furthest step you've unlocked.
Before you start, have these ready: an xAI account (for a Grok API key), a Twilio account (Account SID + Auth Token), a Stripe account you can complete onboarding on, and access to your DNS registrar if you want a custom domain.
Step 1 — Welcome
Nothing to enter. Continue.
Step 2 — Brand
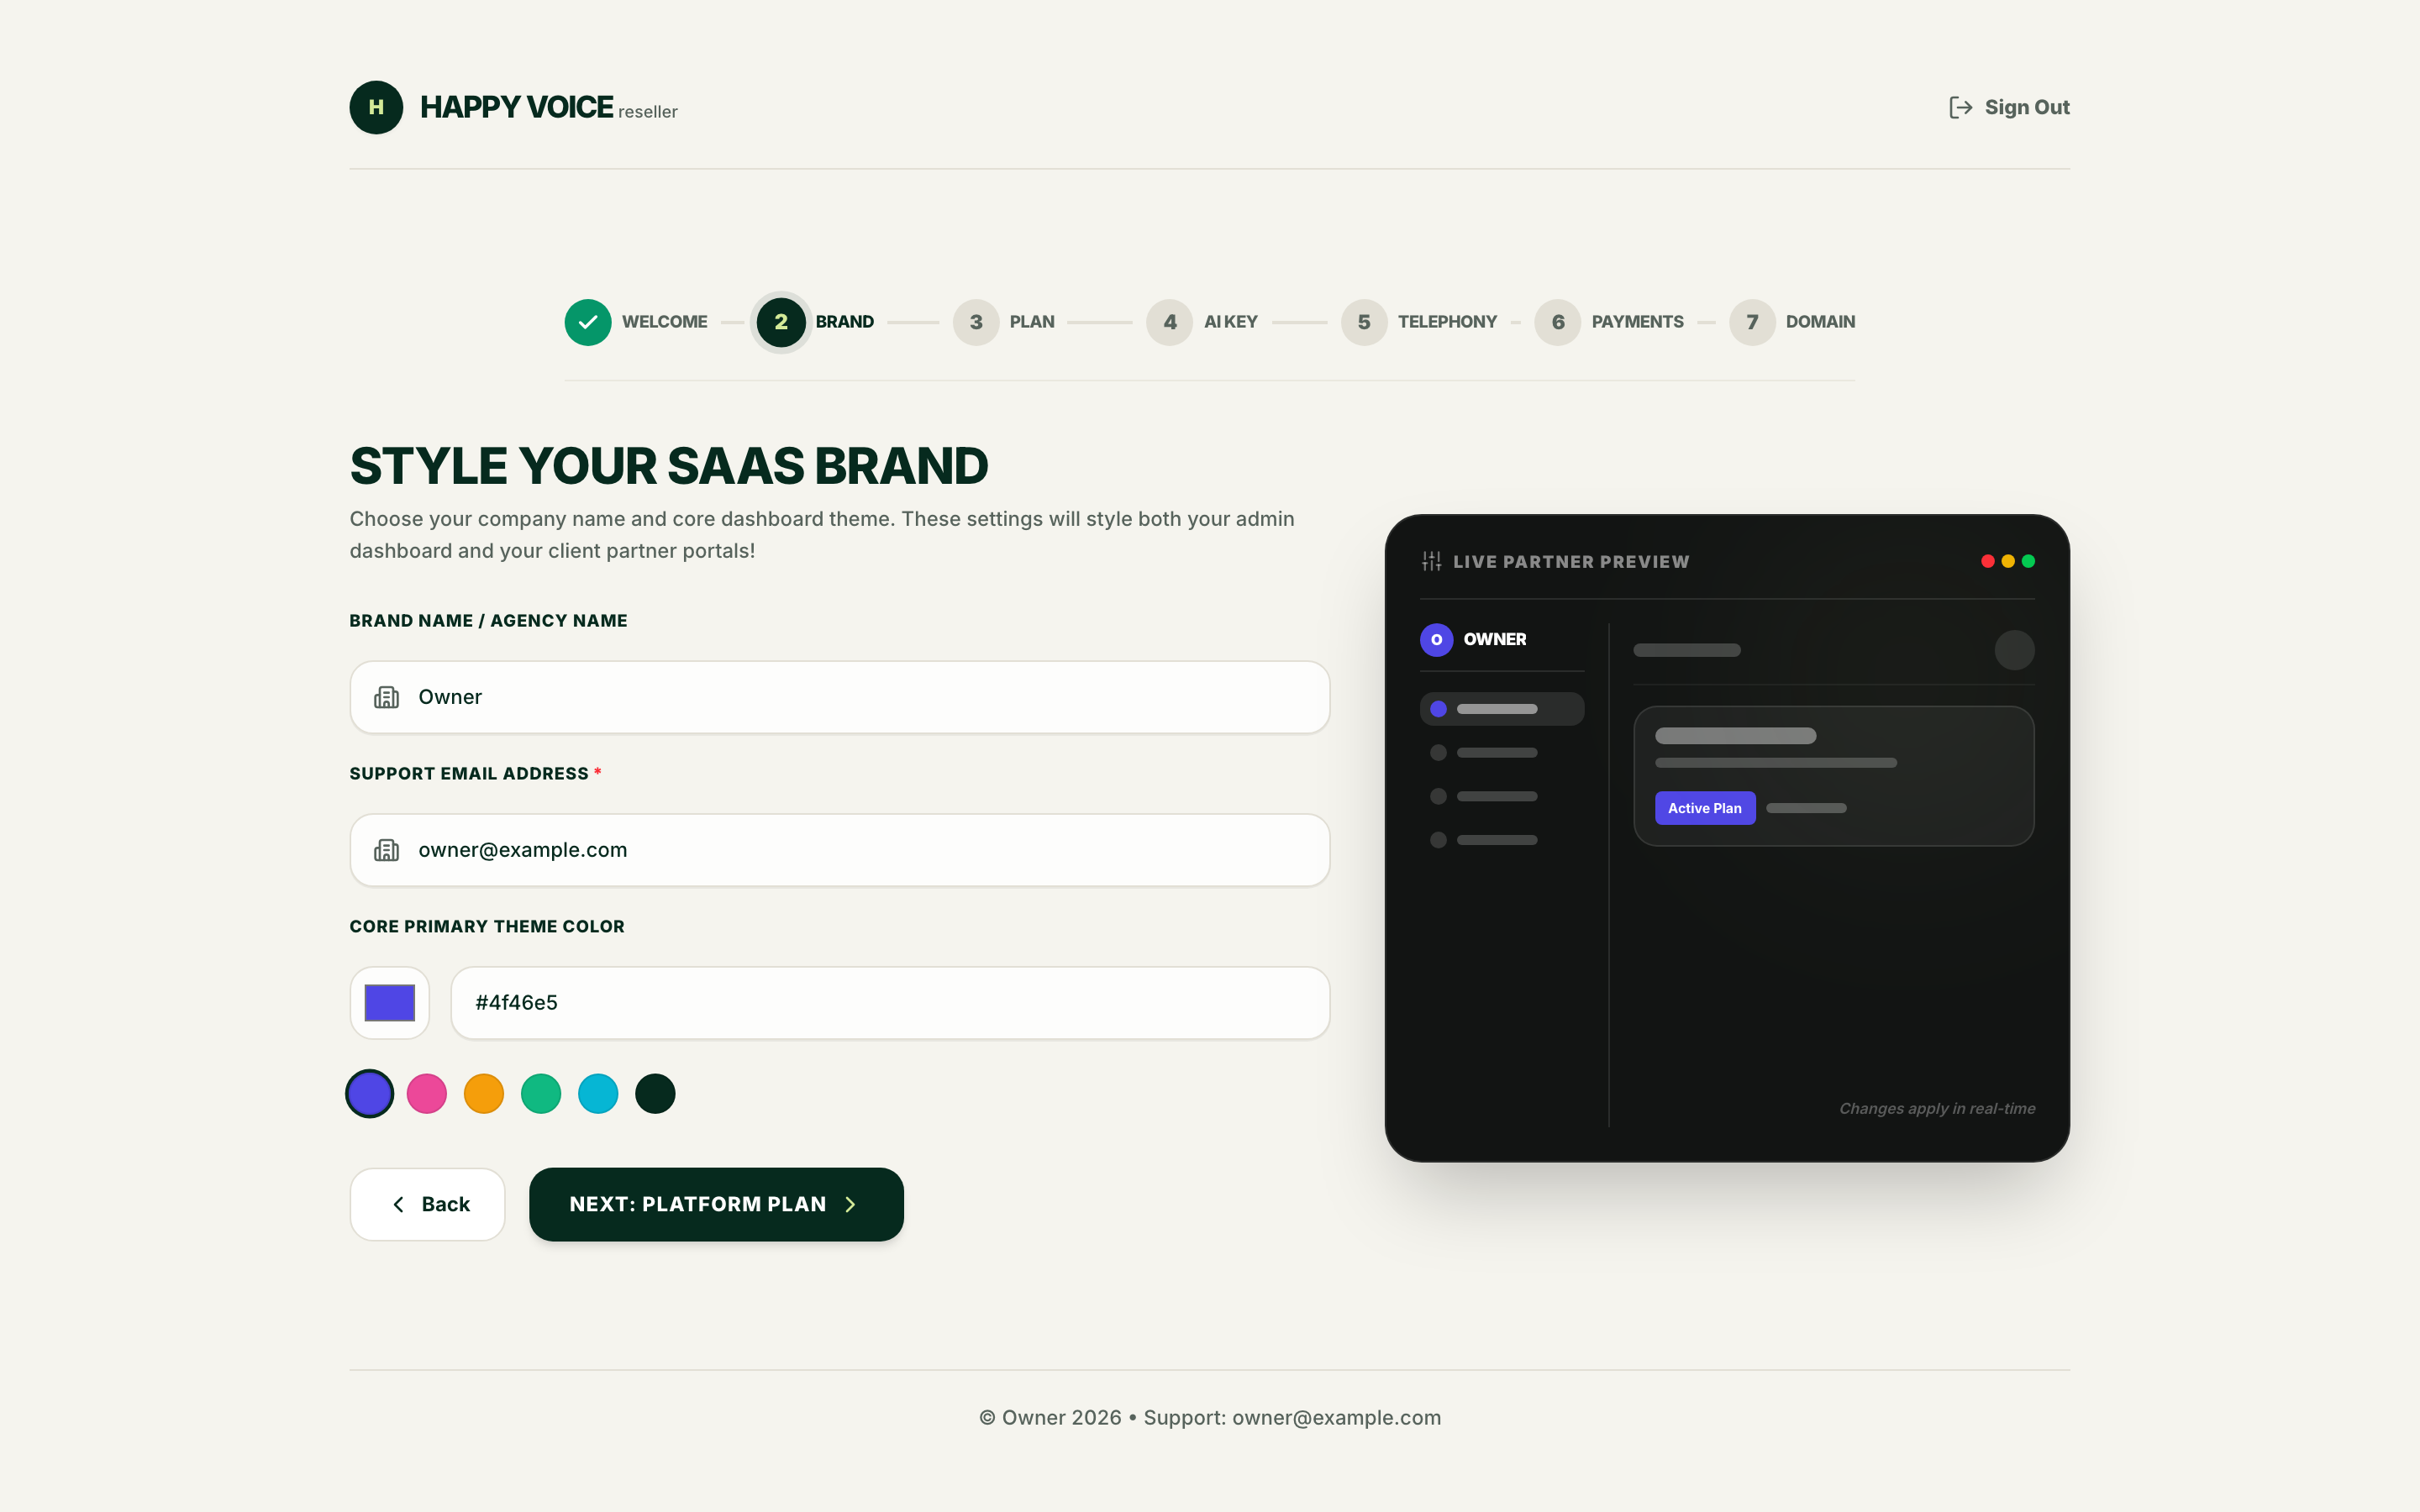
Headed Style your SaaS brand. Three fields, all of which style both your own admin dashboard and the portals your restaurants log into:
| Field | Notes |
|---|---|
| Brand name / agency name | Required. Appears everywhere your clients look. |
| Support email address | Required. Shown to your restaurants as the place to write — use an address you actually monitor. |
| Core primary theme colour | A hex value, or one of the presets. |
The Live partner preview on the right updates as you type, so you can see what a client will see before committing.
This is a starting point, not a ceiling. After onboarding, the Theme page gives you full control of light and dark palettes, radius, and brand assets.
Step 3 — Platform plan
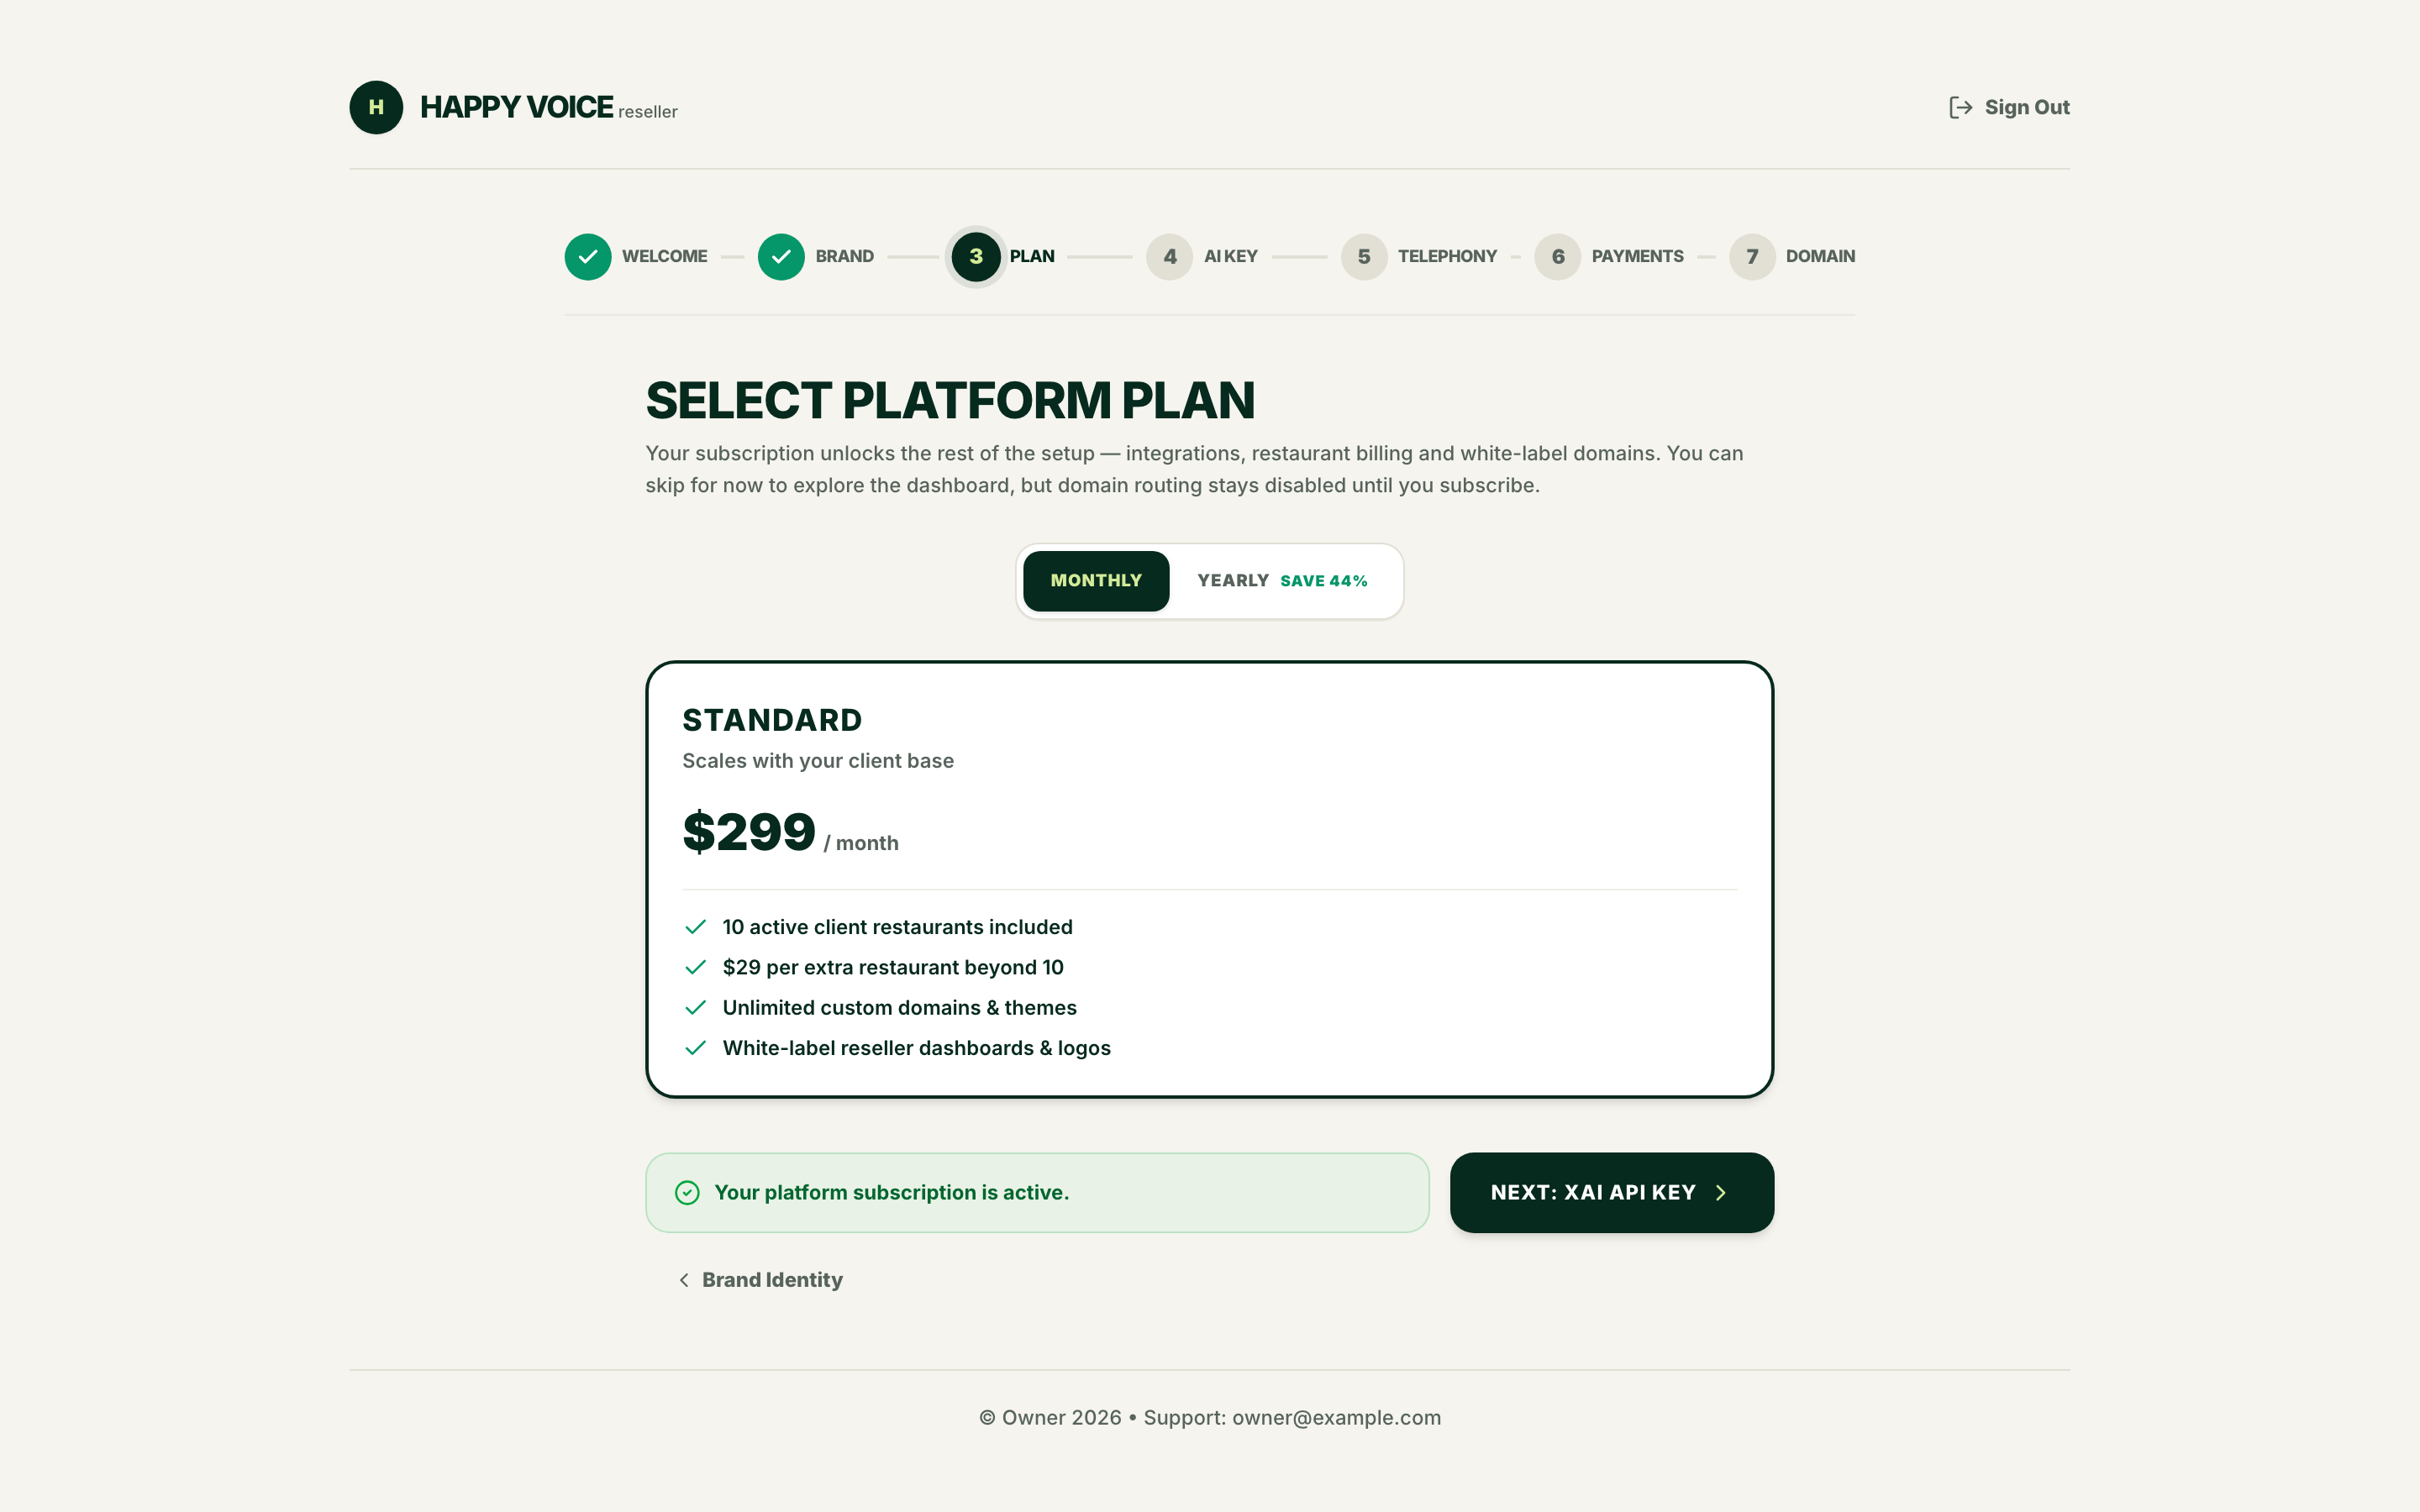
Your subscription to Happy Voice. It unlocks everything after it — integrations, restaurant billing and white-label domains.
Toggle Monthly or Yearly (yearly is discounted) and subscribe. Checkout runs on Stripe; you're returned to onboarding and the subscription is confirmed before you continue.
The plan card shows exactly what you get: a number of active client restaurants included, a per-restaurant price beyond that, unlimited custom domains and themes, and white-label dashboards. See Platform billing for how the overage is counted.
You can skip for now to explore the dashboard, but domain routing stays disabled until you subscribe, and nothing serves live traffic.
Step 4 — xAI (Grok) API key
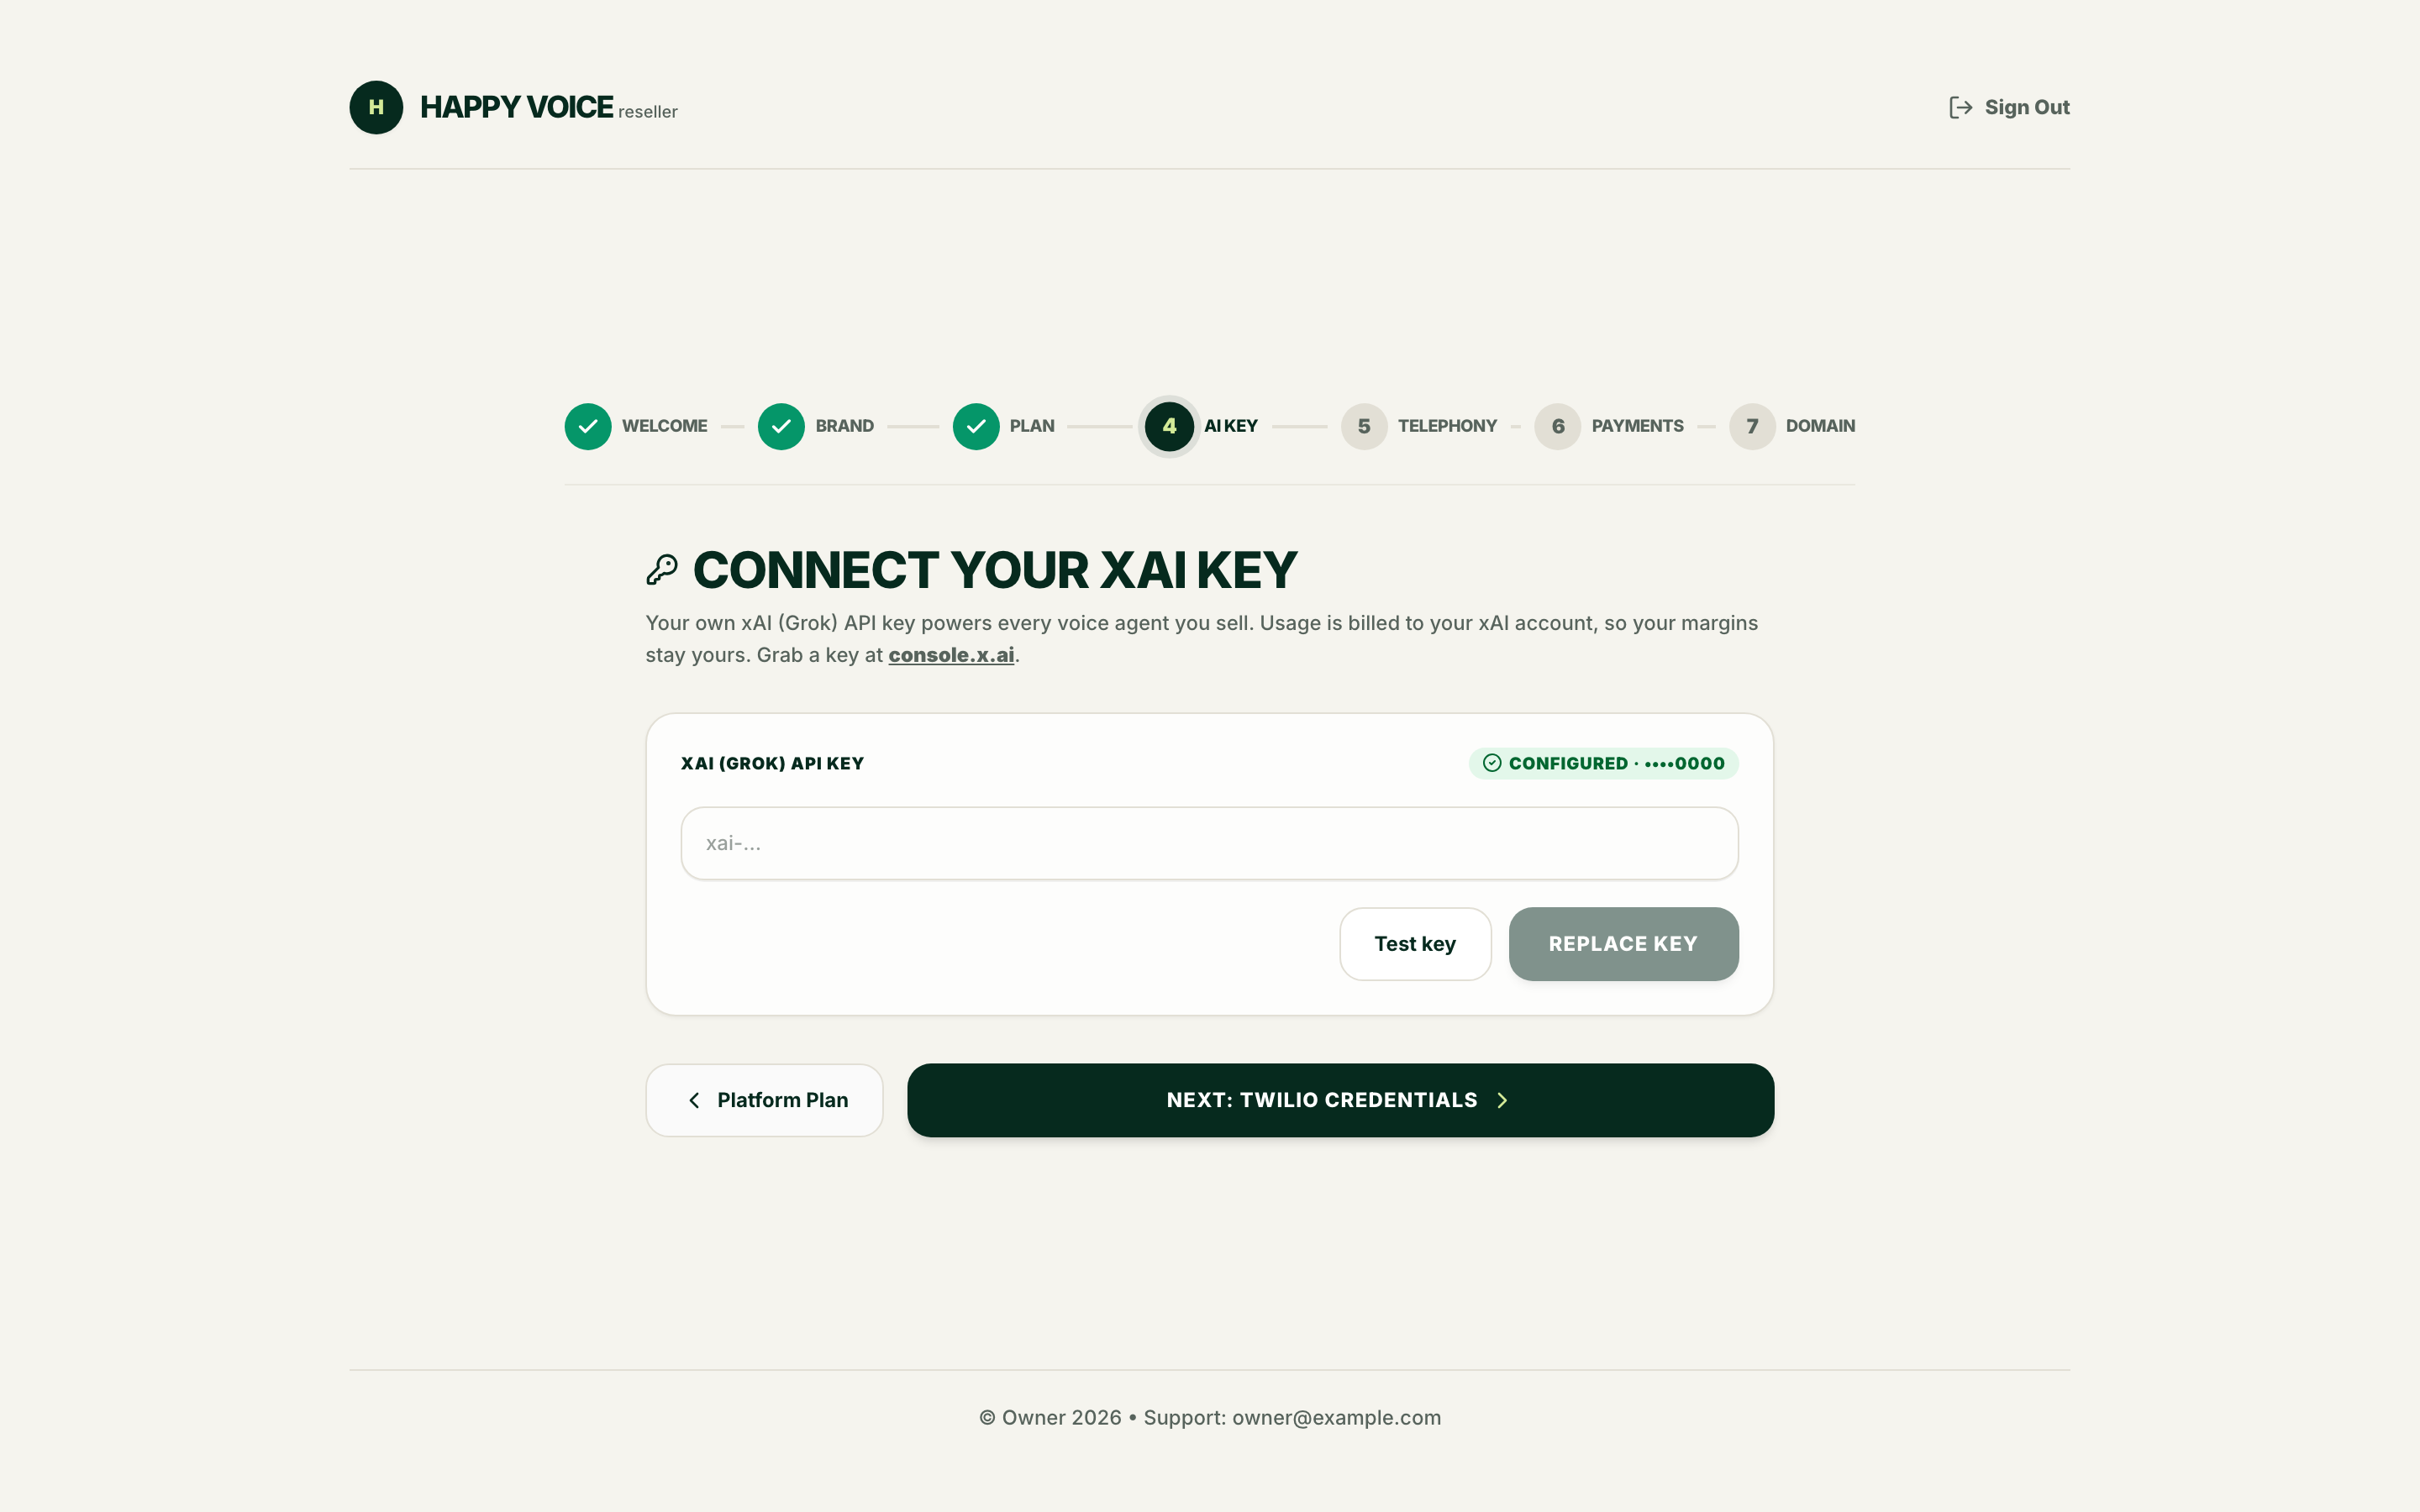
Your own xAI key powers every voice agent you sell. Usage bills to your xAI account,
which is what keeps your margin yours. Get a key from console.x.ai.
Paste it and press Test key — the check calls xAI immediately, so you know at once whether it works. Then save.
Once saved the field collapses to a Configured · ••••0000 badge with a Replace key button. That's expected:
Saved credentials are encrypted at rest and never returned by the API. You cannot read a key back out of this screen. If you lose it, rotate it at xAI and paste the new one.
There is no platform fallback — if this key is missing or invalid, agents on your tenant fail rather than quietly billing someone else. See Credentials.
Step 5 — Twilio
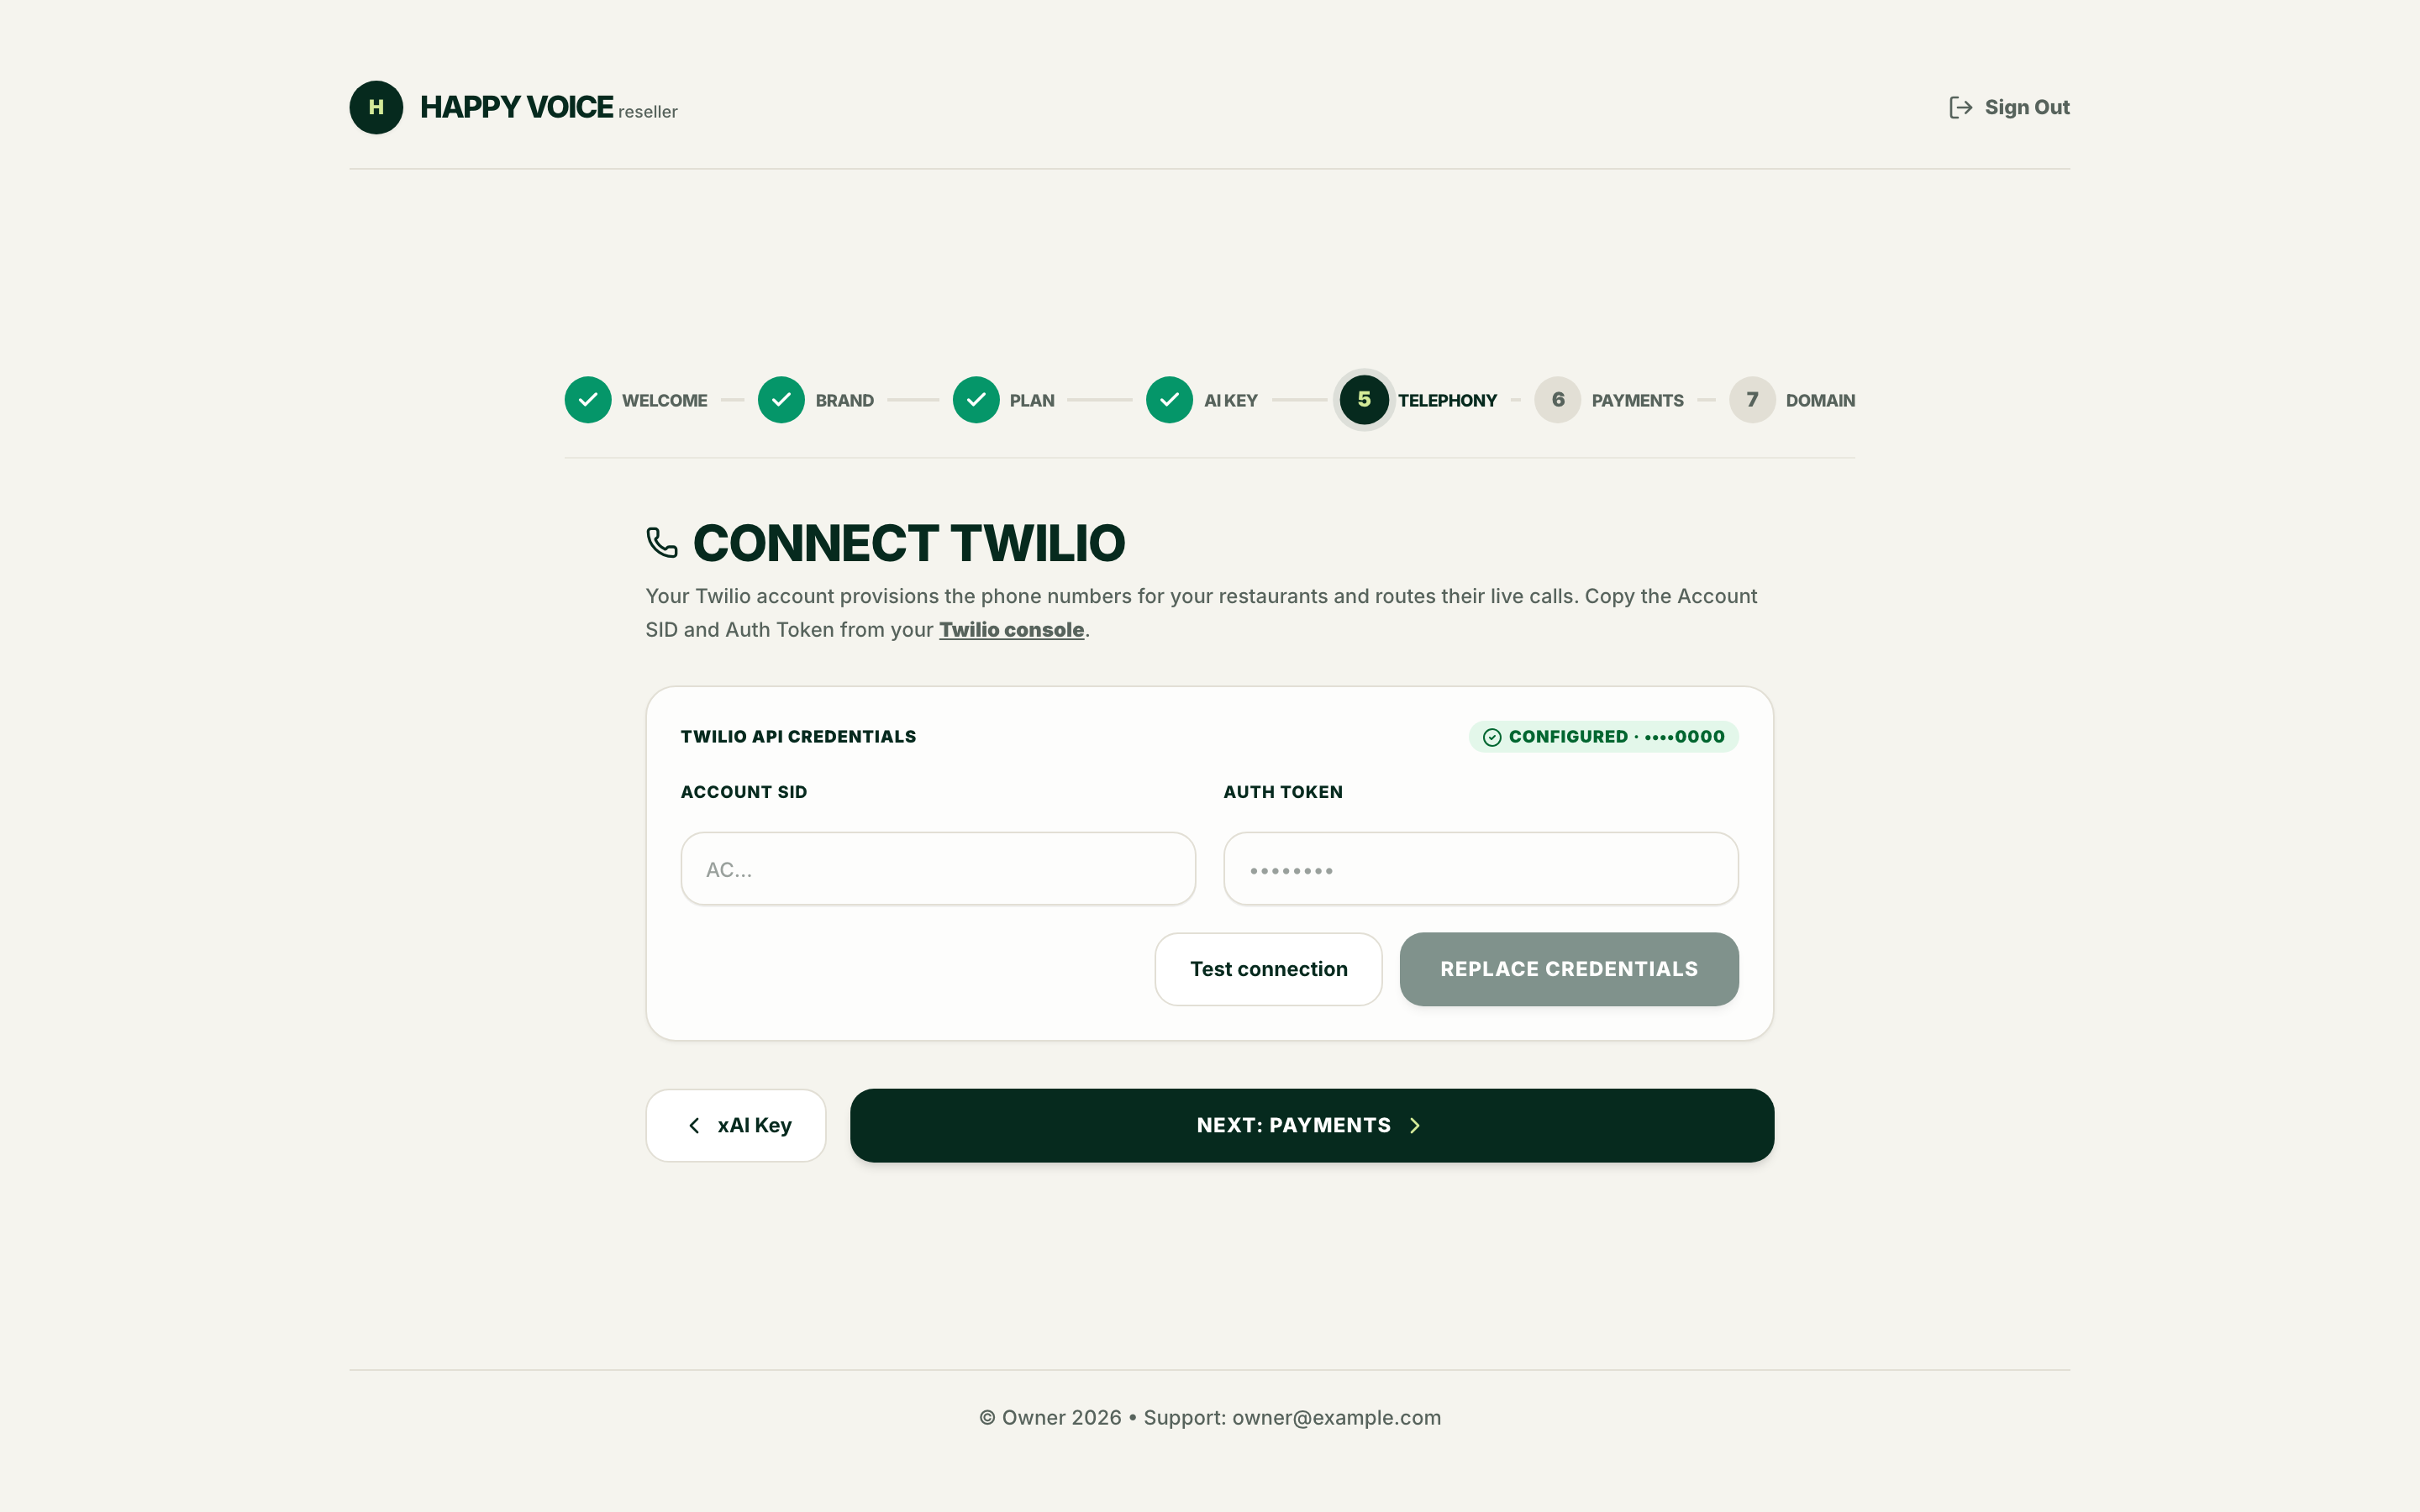
Your Twilio account provisions your restaurants' phone numbers and carries their live calls. Copy the Account SID and Auth Token from your Twilio console.
Both are required. Press Test connection before saving — a typo in an Auth Token is otherwise invisible until a customer's call fails.
Like the xAI key, saved credentials show as Configured · ••••0000 with a Replace credentials button.
Step 6 — Payments
This is the step people get stuck on, so it has its own page. In short: connect Stripe, then publish at least one plan. Both halves are required before step 7 opens.
Step 7 — Domain
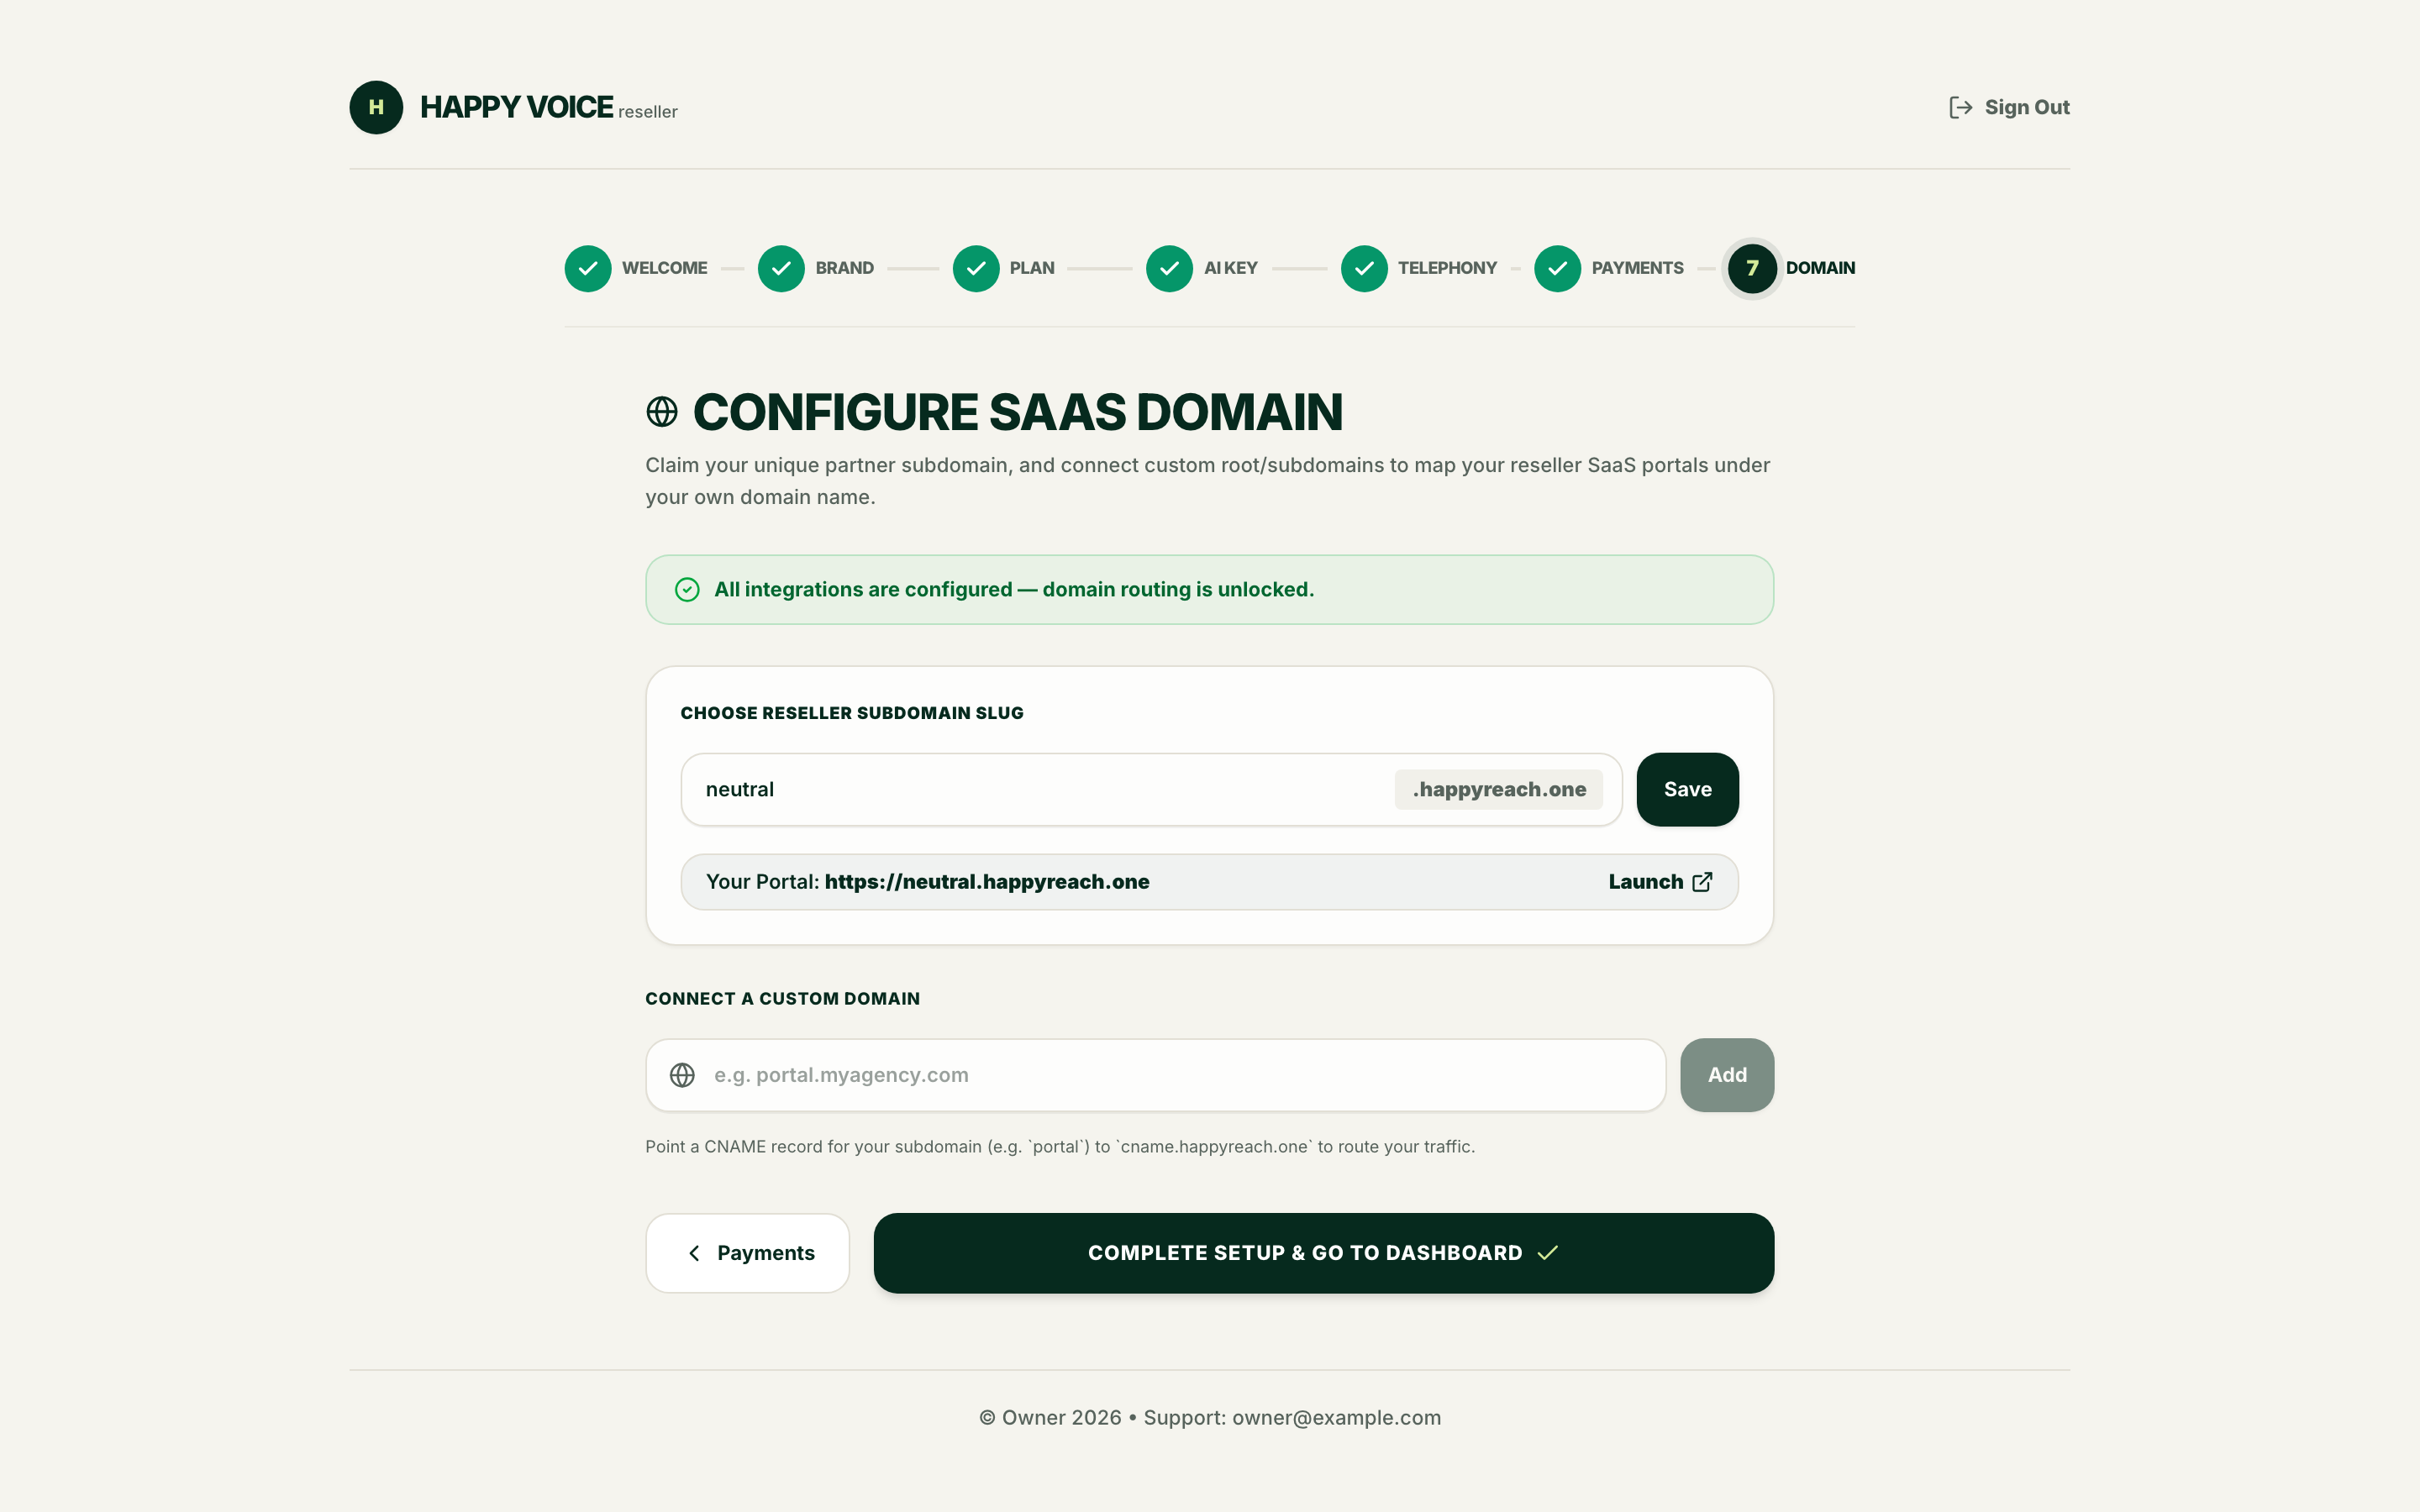
With everything else configured you'll see All integrations are configured — domain routing is unlocked.
Choose your reseller subdomain slug. Lowercase letters, numbers and hyphens. This becomes your portal address, shown right below the field with a Launch button to open it.
Connect a custom domain if you'd rather your restaurants never saw a hostname that isn't yours. Point a CNAME at the target shown on the page. Full detail, including apex domains and TXT verification, is in Custom domains.
Finish with Complete setup & go to dashboard.